

How to Promote Domain Controller using IFM in Server2012
How to Promote Domain Controller using IFM (Install from Media) in Server 2012 R2
In this post, we’ll learn the steps to Promote Domain Controller using IFM (Install from Media) in Windows Server 2012 R2. In previous posts, we have learned the steps to promote Domain Controller using PowerShell command and Additional Domain Controller (ADC). Using IFM for creating an ADC reduces the replication traffic this would be less time consuming because of less replication traffic.
Let’s take a scenario where we have two locations Site A and Site B. Assuming we have the Active Directory Domain Controller (DC01) in Site A and now Organization is planning to build another Active Directory Domain Controller in Site B (DC02). This new Active Directory Domain Controller would be part of the same Forest and Domain therefore it requires to replicate all the data from the DC hosted in Site A. This replication of data requires good bandwidth and it is time consuming depending on the size of data. By using IFM method we can build new Active Directory Domain Controller in Site B with less bandwidth.
Steps to promote Domain Controller using IFM in Windows Server 2012 R2
1. On DC01 open command prompt and type the command “ntdsutil“. It will give us access to manage Active Directory database. Now type “activate instance ntds” and hit enter. Type “ifm” and press enter. Now type a command “create sysvol full c:ifm“. In this command C:ifm is the location where we want to save the snapshot. Through this command, we can create a snapshot of the system volume of the current DC.

2. When the above command is successfully completed we can verify the snapshot from the location where we have saved it.

3. Copy the snapshot to that server which we have to promote as an Additional Domain Controller i.e. we need to send this Snapshot to Site B. In this practical, we have copied the snapshot from DC01 to DC02 and save it locally in the C: drive.

4. To promote Domain Controller using IFM on DC02, open Server Manager and click on “Add roles and features” to install the role of Active Directory Domain Services.

5. This console will explain you about the importance of roles and features wizard.
6. On Select installation type console, select the option “Role-based or feature-based installation” and click on Next to continue.
7. To promote Domain Controller using IFM, on select destination server console, select the option of “Select a server from the server pool”. Select the server from the available servers listed in the server pool to install the role and then click Next to continue. In this practical, we have selected DC02.itingredients.com for the installation process.

8. On Select server roles console, select the role of “Active Directory Domain Services“. A wizard appears regarding the addition of some required features. Click on Add features. Again on Select server roles console, we can see that the role is selected and ready to install. Click on Next to continue.

9. On Select features console, we don’t have to select any feature. Simply click on Next to continue.
10. On Active Directory Domain Services console, we can read about the significance and importance of Active Directory Domain Services. Click on Next to continue.
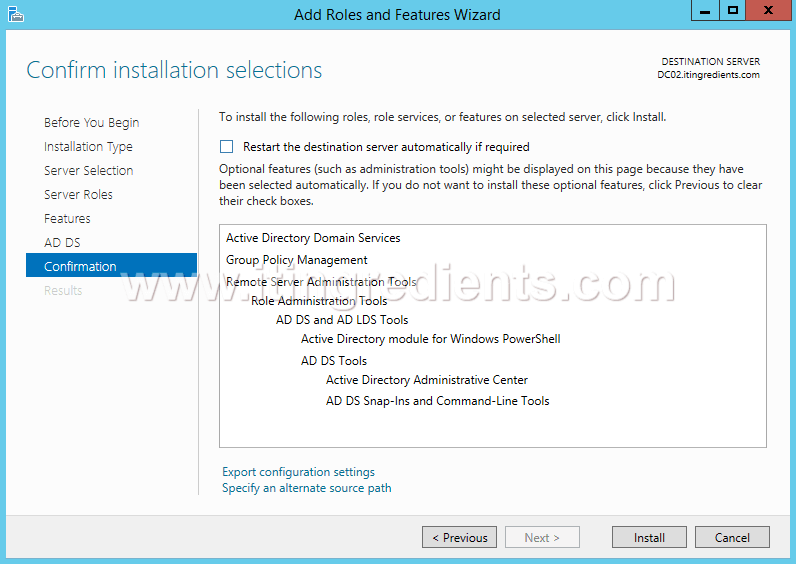
11. On Confirm installation selections console, verify all the options selected on previous consoles. Click on Install to start the installation process.
12. On Installation Progress console, we can see that the installation is in progress.
13. After installation is successfully completed, click on the yellow color warning sign (exclamation sign) and then click on the option of “Promote this server to a domain controller“.

14. On Deployment Configuration console, select the option “Add a domain controller to an existing domain“. Enter the domain name and click on Next to continue. In this practical, our domain name is “itingredients.com“.

15. Verify the DC capabilities and site information. Enter the Directory Services Restore Mode (DSRM) password. From the Site Name option, select the site in which you want to add this DC. For this practical, we’ll select “Default-First-SiteName”. Click on Next to continue.

16. On DNS Options console, simply click on Next to continue.

17. On Additional Options console, select the option “Install from media” and specify the path of the snapshot. In this practical, we have saved the snapshot in “C:\ifm“. Click on Verify to verify the snapshot. Click on Next to continue. Please ensure you have network connectivity between Site A and Site B for name resolution.

18. On the Paths console, verify the specified locations of the AD DS database, log files and SYSVOL. Click on Next to continue.

19. On Review Options console, review the selections selected on the previous consoles. Click on Next to continue.

20. On Prerequisites Check console, we can see that the prerequisites check passed successfully. Click on Install to begin the installation process.

21. On Results console, after completing the installation click on Close and then restart the server to complete the DC Promotion process.

Hope you understood the steps to promote Domain Controller using IFM (Install From Media). Please feel free to leave your comments and suggestions in the comment section below.