
How To Create Additional Domain Controller (ADC) In Windows Server 2012 R2
Additional Domain Controller in Windows Server 2012 R2
In this post, we’ll learn the steps to create additional Domain Controller in Windows Server 2012 R2. Having one Domain Controller is not safe for the organization’s network because, it would be a single point of failure in case of any technical breakdown. Entire network will be down and would lead to big outage. For eliminating the risk of network breakdown we need to have an Additional Domain Controller (ADC) in our environment. It also depends on the total locations.
Organizations have multiple DCs means there are more than one DC. The benefit of having multiple domain controller is to load balance the environment. Moreover, it minimizes the risk of complete outage in case of DC going down.
How to change IP Address of Windows Server
Steps to promote Domain Controller
Steps for promoting an Additional Domain Controller (ADC)
1. Before we begin with the process of promoting Additional domain controller, let’s verify total number of domain controllers we have in our environment. To check total number of DCs, right click on start button, select run and type “DSA.MSC” and click on OK to open Active Directory Users and Computers. Another way to open AD Users and Computers is to click on Start, click on down arrow and select “Active Directory User and Computer”.

2. To verify total number of domain controllers in your domain select “Domain Controllers” OU. In addition to this we can also check total number of DCs in your environment by using “Get-ADDomainController” in PowerShell or by “dsquery server” in Command Prompt.

3. Open Server Manager.
![]()
4. On Dashboard of Server Manager click on ‘Add Roles and Features’ to install AD DS role.

5. On “Add Roles and Features Wizard” we’ll verify all the prerequisites like administrator account has a password, IP address configured etc.To continue, click Next.

6. Select “Role-based or feature-based installation” and click on Next.

7. In ‘Select destination server’ wizard, in server pool all remotely manageable servers are listed but here only one name is listed there i.e. DC04.abc.com. Select the box on which you want to install Active Directory.

8. Some features are required to install AD DS role. Click on Add Features to install those features that are required for DC promotion.

9. On “Add Roles and Features Wizard” select Active Directory Domain Services Role to install and click next.

10. In “Select features” windows, we don’t need to select any additional features. As all the required features are already selected.

11. Additional information can be seen about AD DS. Click next.

12. In “Confirm Installation selections” windows, we can see all the roles and features that we have selected to install. In case of any changes, click on previous to go back and make the change. Select the option “Restart the destination computer automatically if required”. A popup will confirm if you want to restart the server automatically after it is promoted as an ADC. Restart is required for changes to get affected, click Yes. Click on Install to begin the installation of Active Directory.

13. Once the AD-DS role is installed, click on the exclamation sign on the top of Server manager and click on “Promote this server to a domain controller”.

14. To promote this computer as an ADC select the option “Add a domain controller to an existing domain”. Please ensure your domain name is selected and you are logged in as enterprise admin. Click Next.

15. Select the options “DNS Server” and “Global Catalog (GC). If you want to install DNS on this server and promote this server as a Global Catalog. Type Directory Services Restore Mode password. Please ensure that you remember this password, we’ll use this password while logging to Active Directory Restore Mode.

16. In the “DNS Options” window, click on next.

17. In the “Additional Options” window, select the domain controller from which you want all the data to be replicated. In this example, we only have one DC in our environment. If you have multiple DCs then select the one which is either at our site or near to our site.

18. In the paths window, define the patch of database folder, log file folder and sysvol folder. We’ll go with the default in this example, but you can change it as per your preference.

19. Review all your selections. Click previous and change if any changes are required else click next.

20. In “prerequisite check”, it would show all the prerequisites that are missing and need to be fixed. We can ignore the warnings but we can’t ignore the error message. In case of error message, install option will not be visible. Click on Install to begin the installation of ADC.

21. Installation will take couple of minutes depending on the connection between DC and newly promoted computer, as it would replicate data. After installation is done, it would restart the computer for changes to get implemented.
Steps to promote Domain Controller using PowerShell
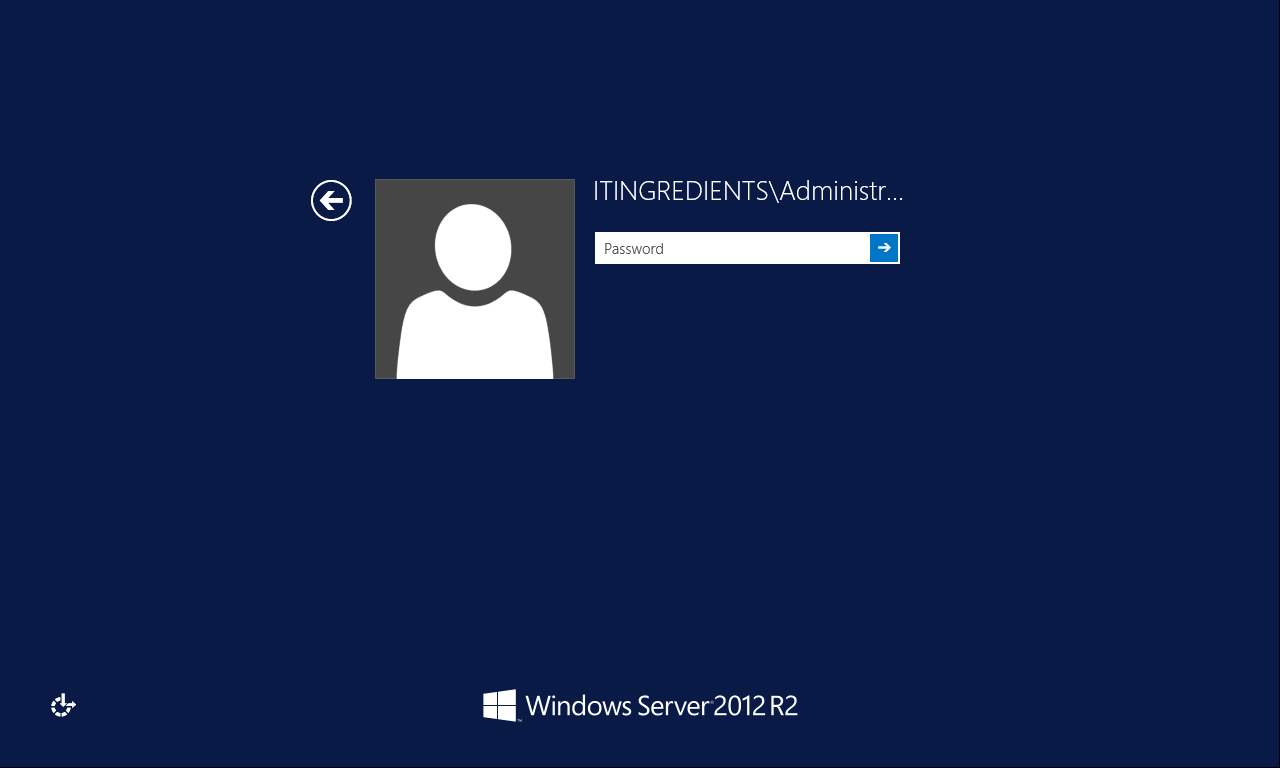
22. After restart is completed, login with Administrator, open active directory users and computer. Select Domain controllers OU. It would show the newly provisioned Computer.

23. Another option to check all the domain controllers is to run the command “dsquery server”. This command will list all the DCs you have in your domain.
![]()
Hope you understood the steps to create Additional Domain Controller. Feel free to leave your comments or suggestions in the comment section.
How many additional Domain Controllers can we create in one Domain ?